
A video collage is several videos playing at the same time, inside one frame. Not a sequence, not a montage — a split screen where the left half is the ceremony and the right half is the dance floor, both running at once.
Most guides for this send you to a desktop editor, or to a web tool that wants you to upload your footage first. You do not need either. This guide does the whole thing on the phone the videos are already on.
Table of contents
- Video collage vs. video montage — pick the right one
- What you need
- Step 1: Choose a layout
- Step 2: Choose the shape it has to fit
- Step 3: Drop clips into the cells
- Step 4: Trim each clip and decide which one you hear
- Step 5: Position inside the cell
- Step 6: Export
- Where video collages go wrong
- Making one in a browser instead
Video collage vs. video montage — pick the right one
These two get searched interchangeably and they are not the same thing. Choosing wrong is the single most common reason the result disappoints.
| Video collage | Video montage | |
|---|---|---|
| What it is | Several clips on screen together | Clips played one after another |
| Reads as | A grid, a split screen | A short film |
| Good for | Comparisons, 4 angles of one moment, before/after | Birthdays, holidays, recaps |
| Length | Short — as long as the longest cell | As long as you like |
| Audio | Usually one cell's audio, or music over all | Music, often with voiceover |
If what you actually want is "all our holiday photos and clips set to a song", you want a montage, not a collage. Skip to how to make a slideshow with music on iPhone.
Still want several things on screen at once? Keep reading.
What you need
- An iPhone with the clips already in Photos
- Moments or Muse — both include the same collage tool. Moments is built around photos, Muse around video clips; for a video collage either is fine
- About five minutes
There is nothing to sign up for. Both apps open straight into work and keep your projects on the phone as drafts.
[Screenshot: Collage screen — a four-cell layout with two video cells playing]
Step 1: Choose a layout
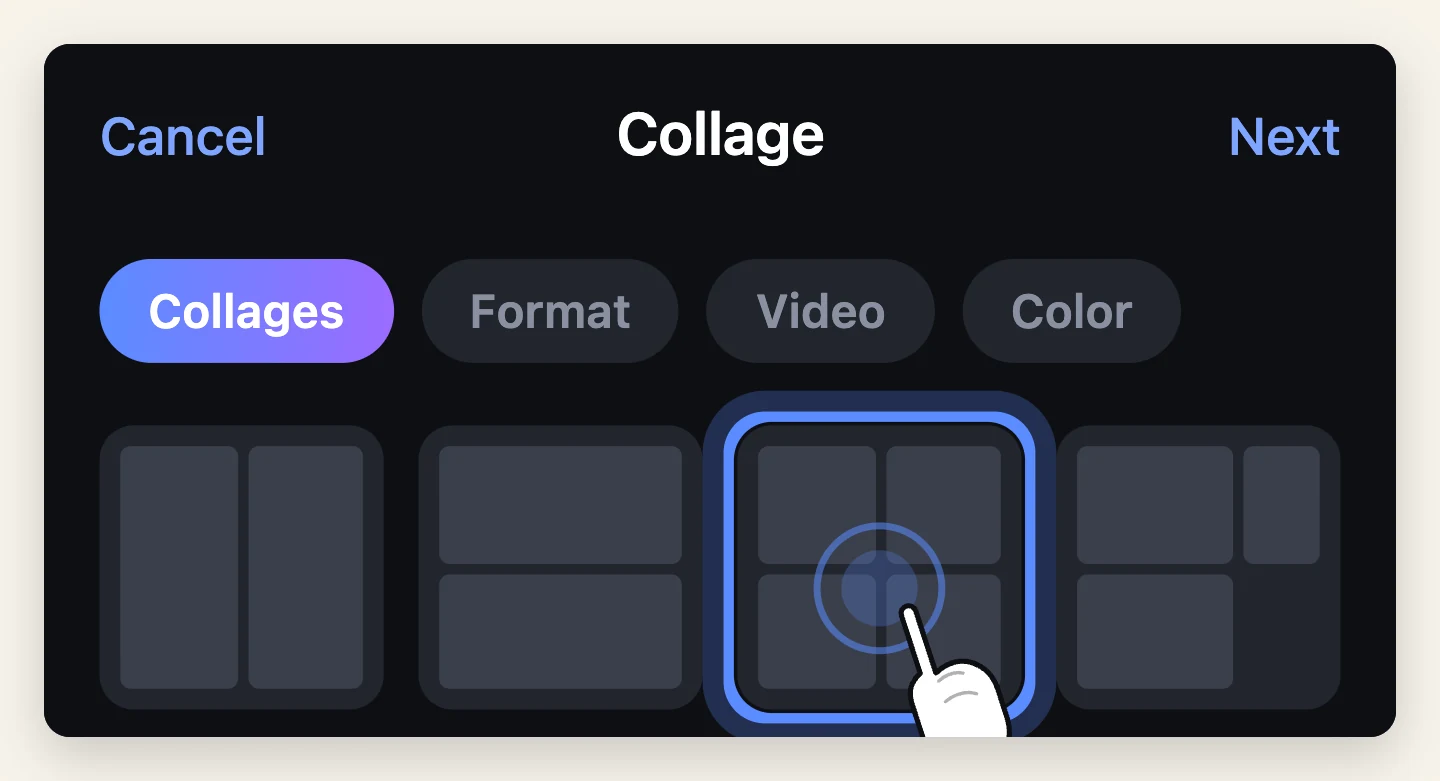
Open the app and pick Collage from the row of tools on the home screen. The first pane is Collages — the layouts themselves. There are 96 of them, grouped by how many cells they hold.
Pick by how many things you want on screen, not by which looks prettiest empty:
- 2 cells — before/after, two camera angles, a reaction next to the thing being reacted to
- 3 cells — a sequence that still reads at a glance
- 4 cells — the classic grid; the most forgiving
- 6 or more — only if the clips are visually simple. Faces get small fast
A collage with six cells on a phone screen gives each cell roughly the size of a postage stamp in the viewer's feed. If any cell contains a face you want recognised, use fewer cells.
Step 2: Choose the shape it has to fit
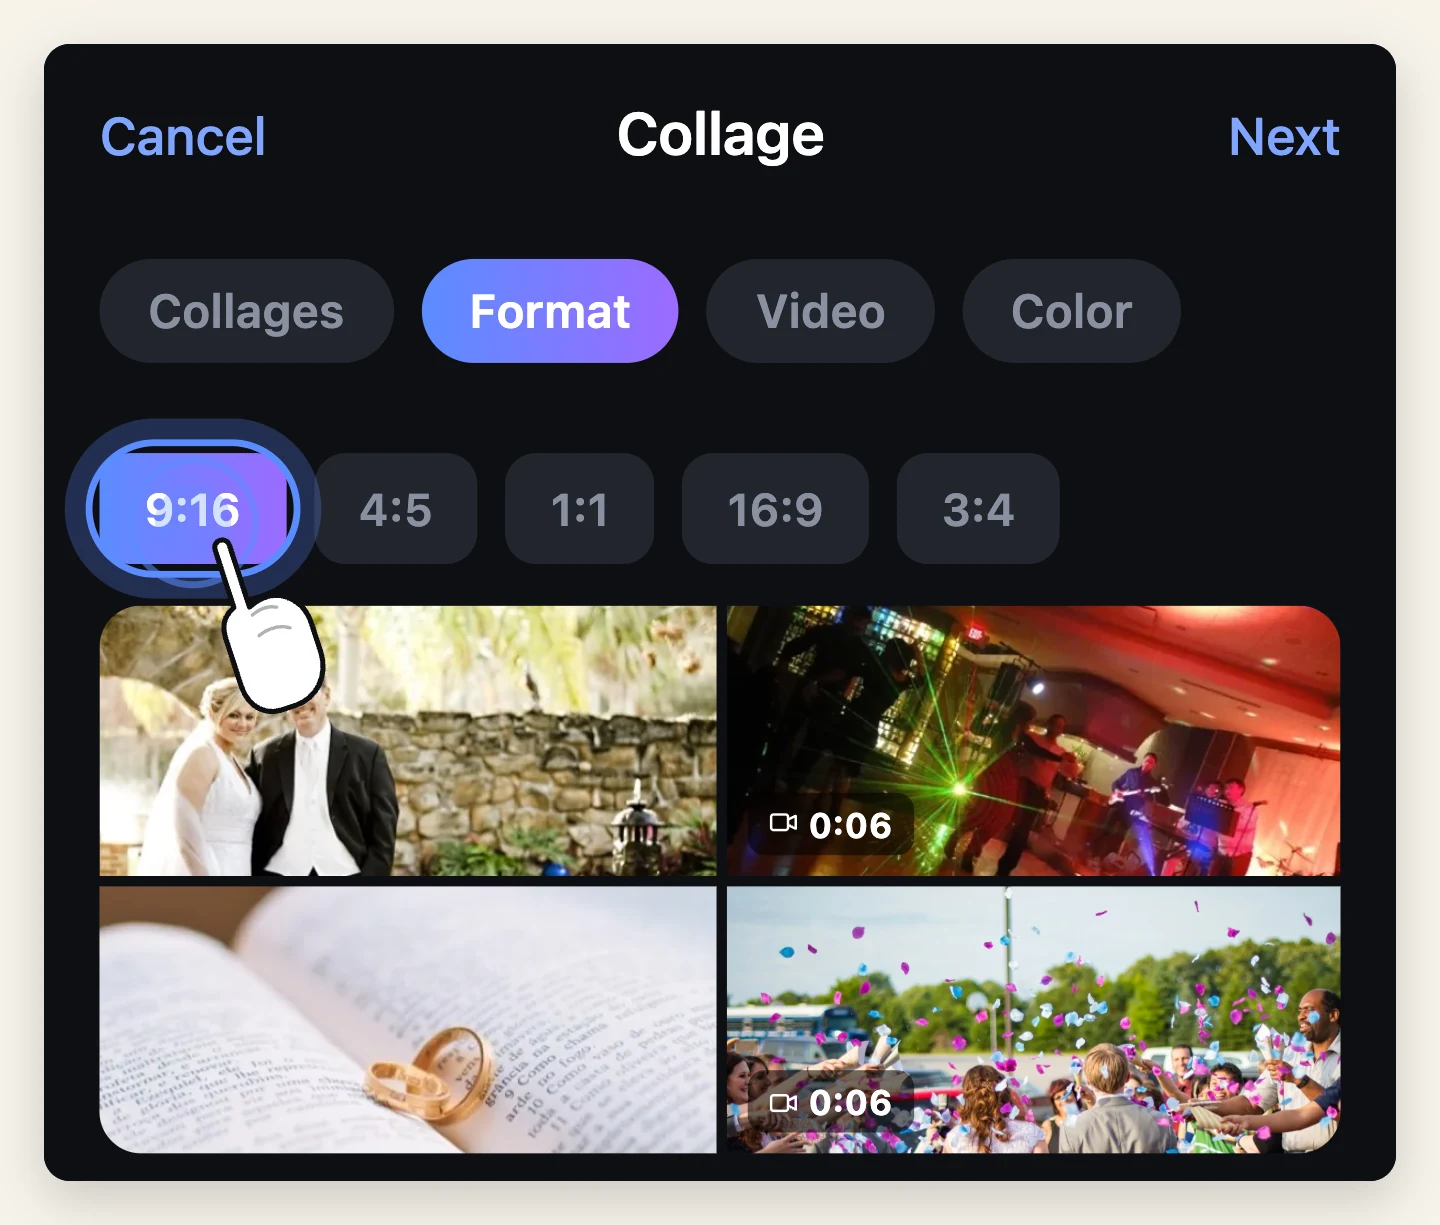
The Format pane sets the aspect ratio of the whole collage. There are 11 of them. Choose by destination, before you start placing clips — changing it later re-flows every cell.
| Destination | Format |
|---|---|
| Reels, TikTok, Shorts, Stories | 9:16 |
| Instagram feed post | 4:5 |
| A square that works anywhere | 1:1 |
| YouTube, a TV, a laptop | 16:9 |
Getting this wrong is the number one cause of a collage that looks fine in the editor and gets cropped to nonsense in the feed.
Step 3: Drop clips into the cells
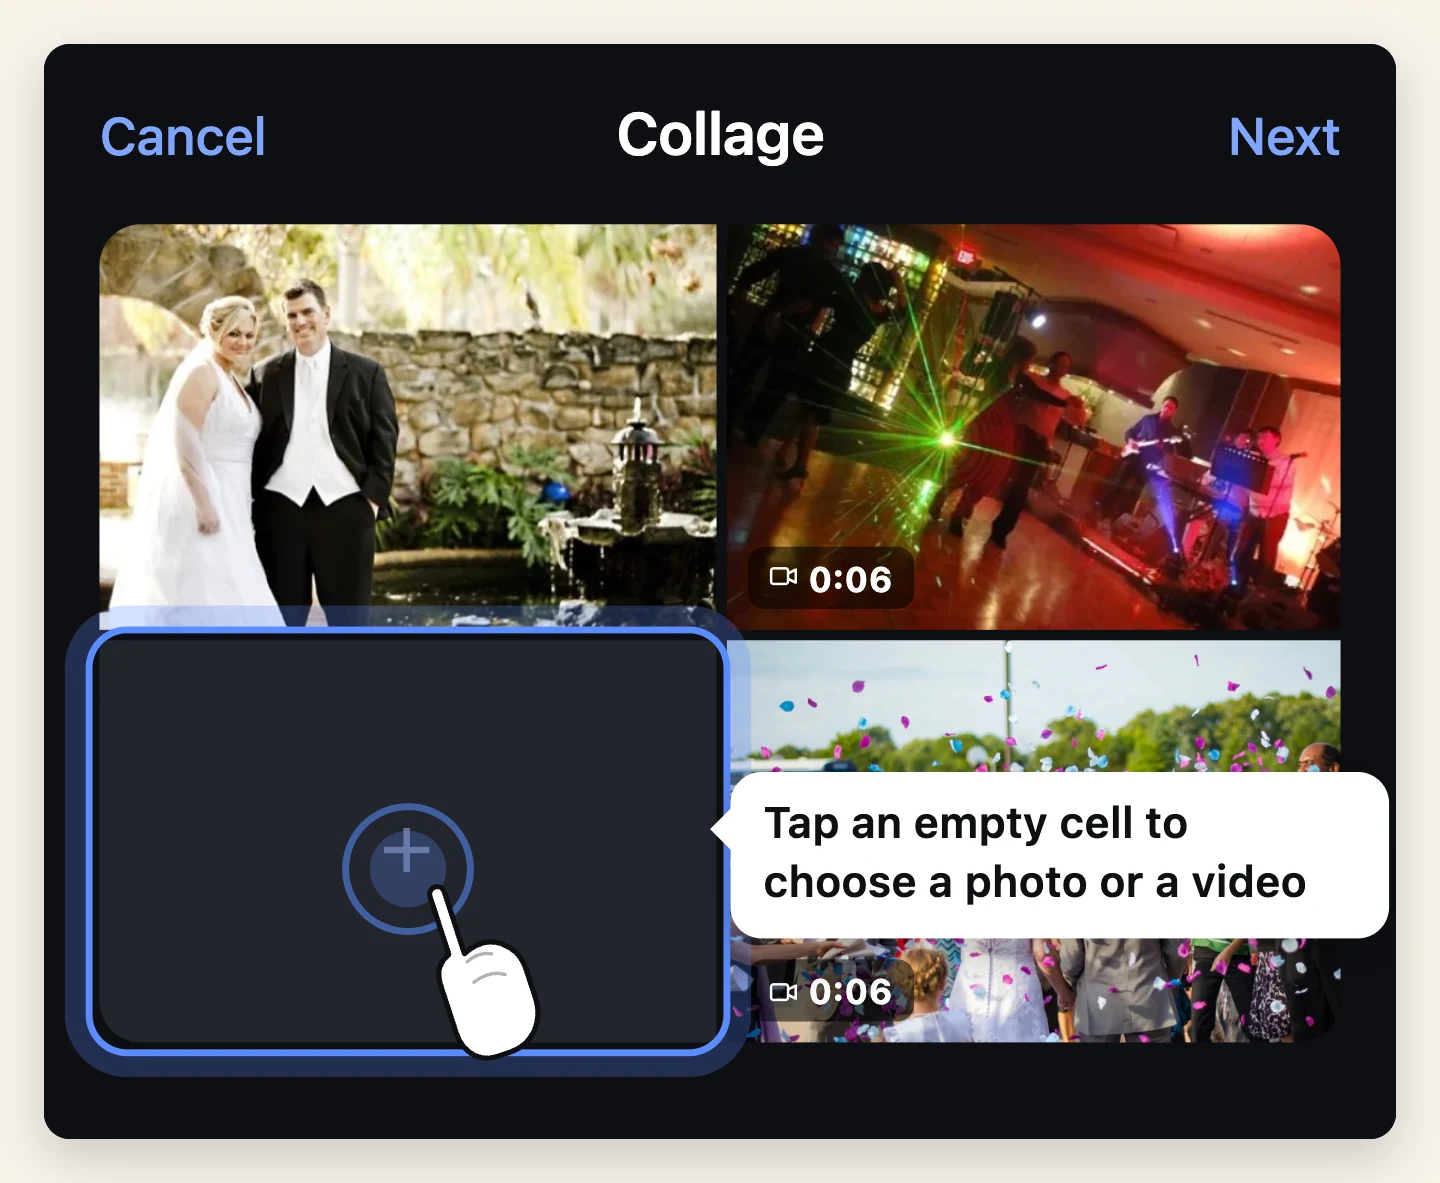
Tap a cell and choose a photo or a video. Cells accept both, so a collage can mix stills and footage — a photo of the cake next to the video of it being cut.
Fill every cell before you start fine-tuning. An empty cell changes how the full ones read, and you will only re-adjust everything afterwards.
Step 4: Trim each clip and decide which one you hear
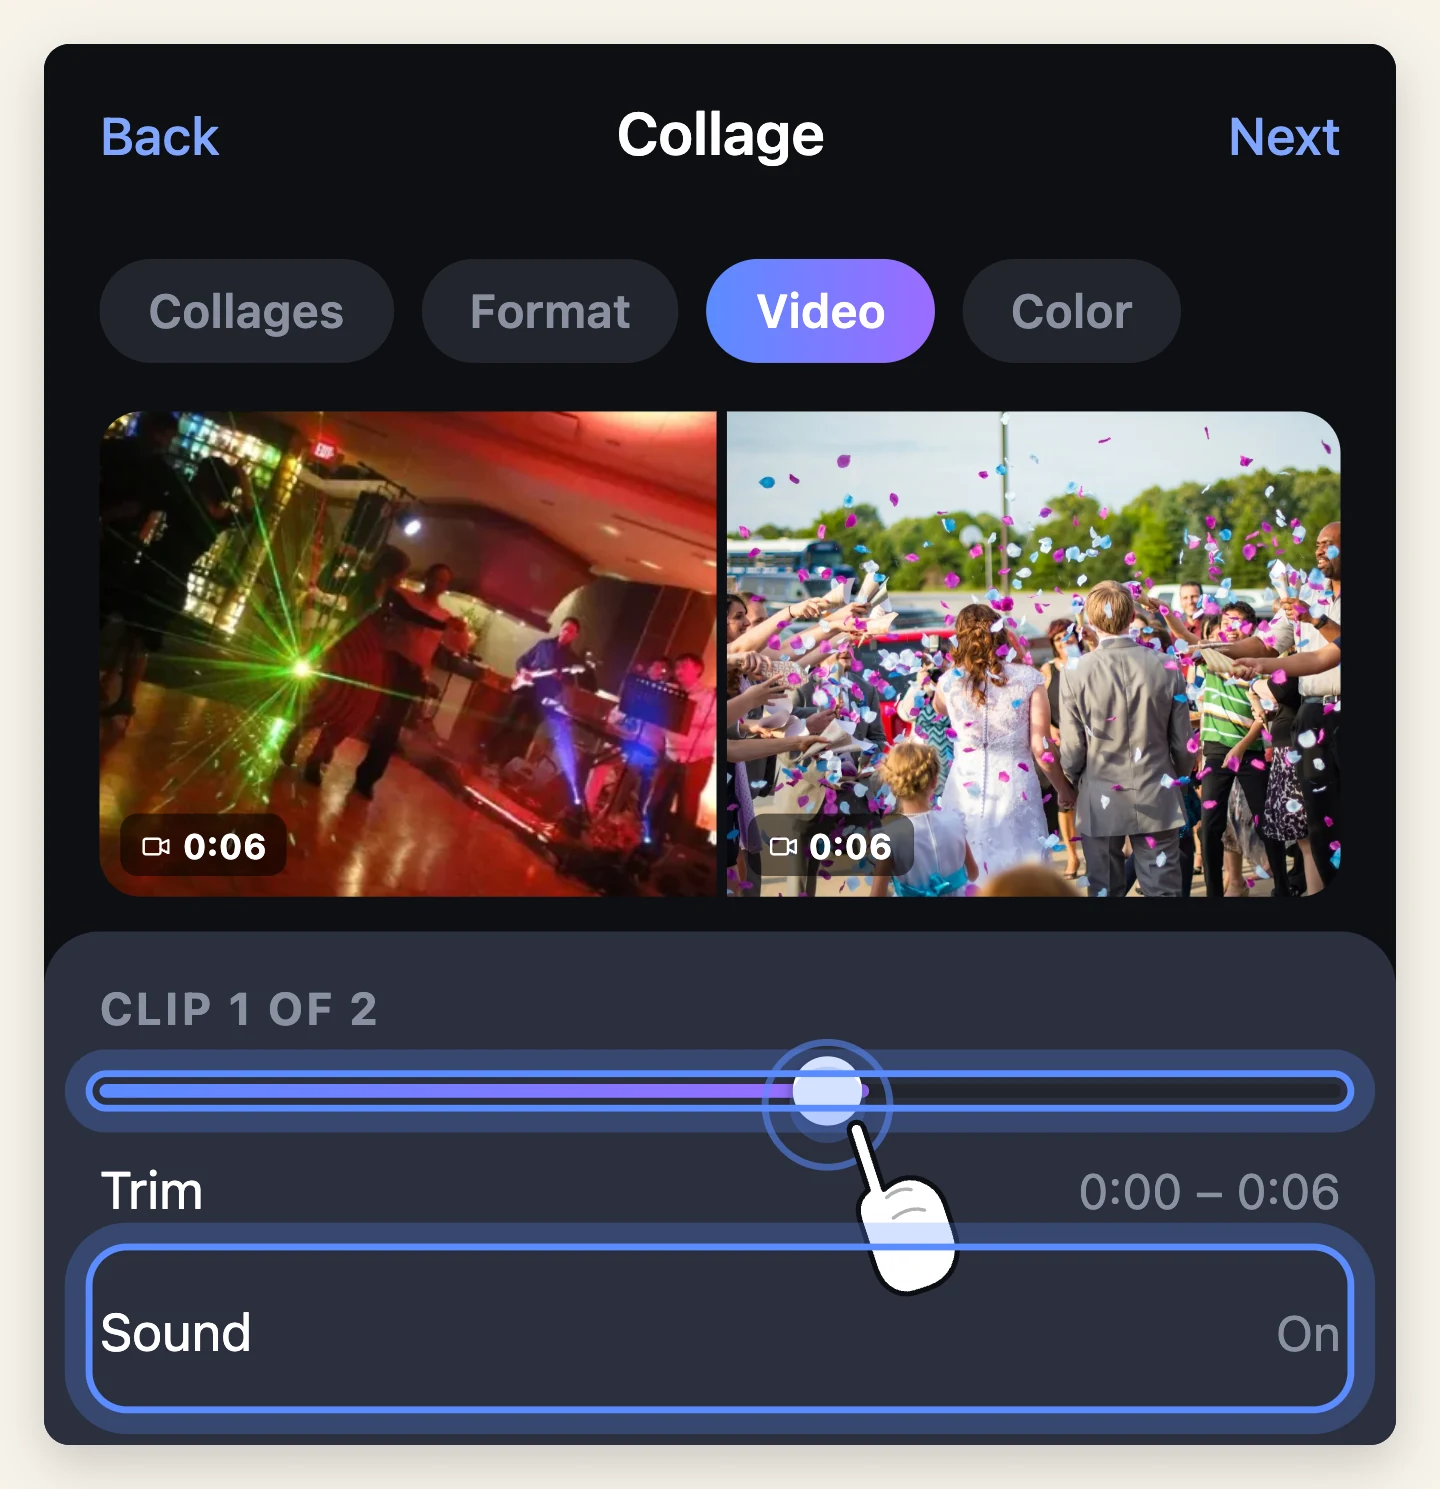
This is the part that separates a video collage from a pile of thumbnails, and it is where the Video pane comes in.
Each video cell can be trimmed independently. Set each clip so the thing worth seeing happens in the same few seconds across all cells. If one cell peaks at two seconds and another at nine, the viewer never sees both.
Then decide the audio. Four clips all playing their own sound at once is noise. In practice you want one of two things:
- One cell's audio, the rest silent — the one carrying the speech or the laugh
- All cells silent, with music over the top
The collage exports a real MP4 with audio, so whatever you set here is what the viewer hears.
[Screenshot: Video pane — per-cell trim handles and the audio control]
Step 5: Position inside the cell
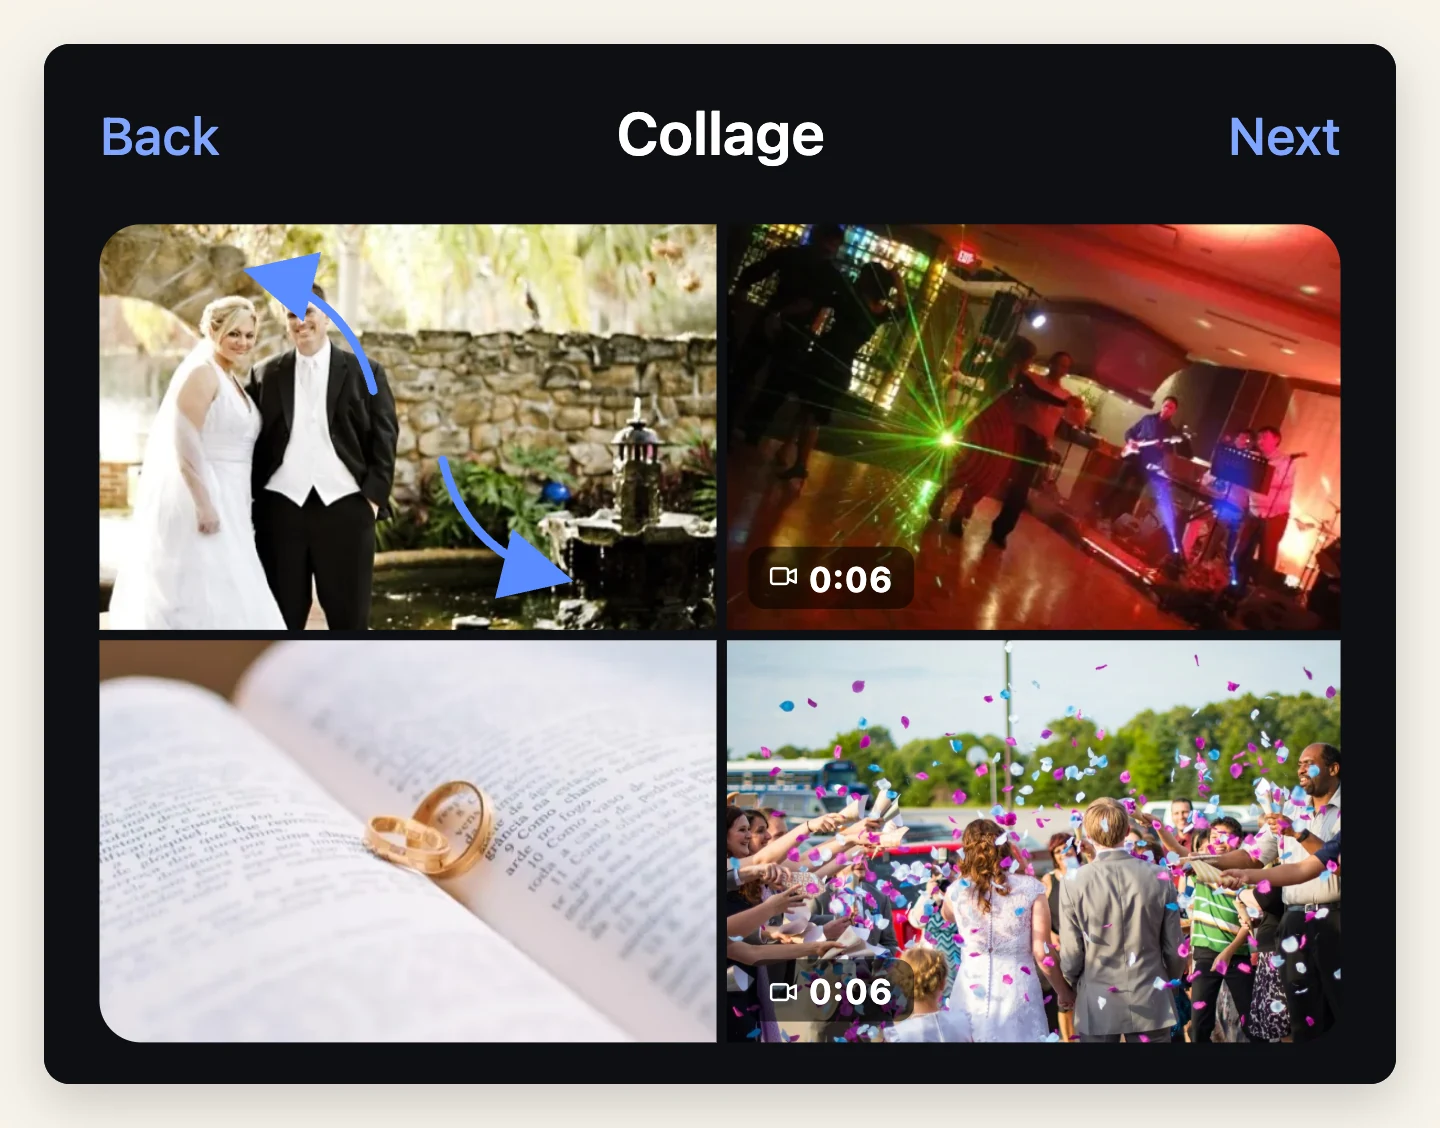
A 16:9 clip does not fit a square cell without something being cut. Rather than letting the app guess, place it yourself: pinch to zoom, drag to reposition.
A new clip fits whole at 1×. You have to zoom in a little before there is room to move it — at 1× there is no slack to drag.
Three things to check in every cell:
- No face is cut by a cell edge
- Horizons across adjacent cells roughly agree, or clearly do not — near-misses look like mistakes
- Nothing important sits in the outer few percent, which some players shave
Step 6: Export
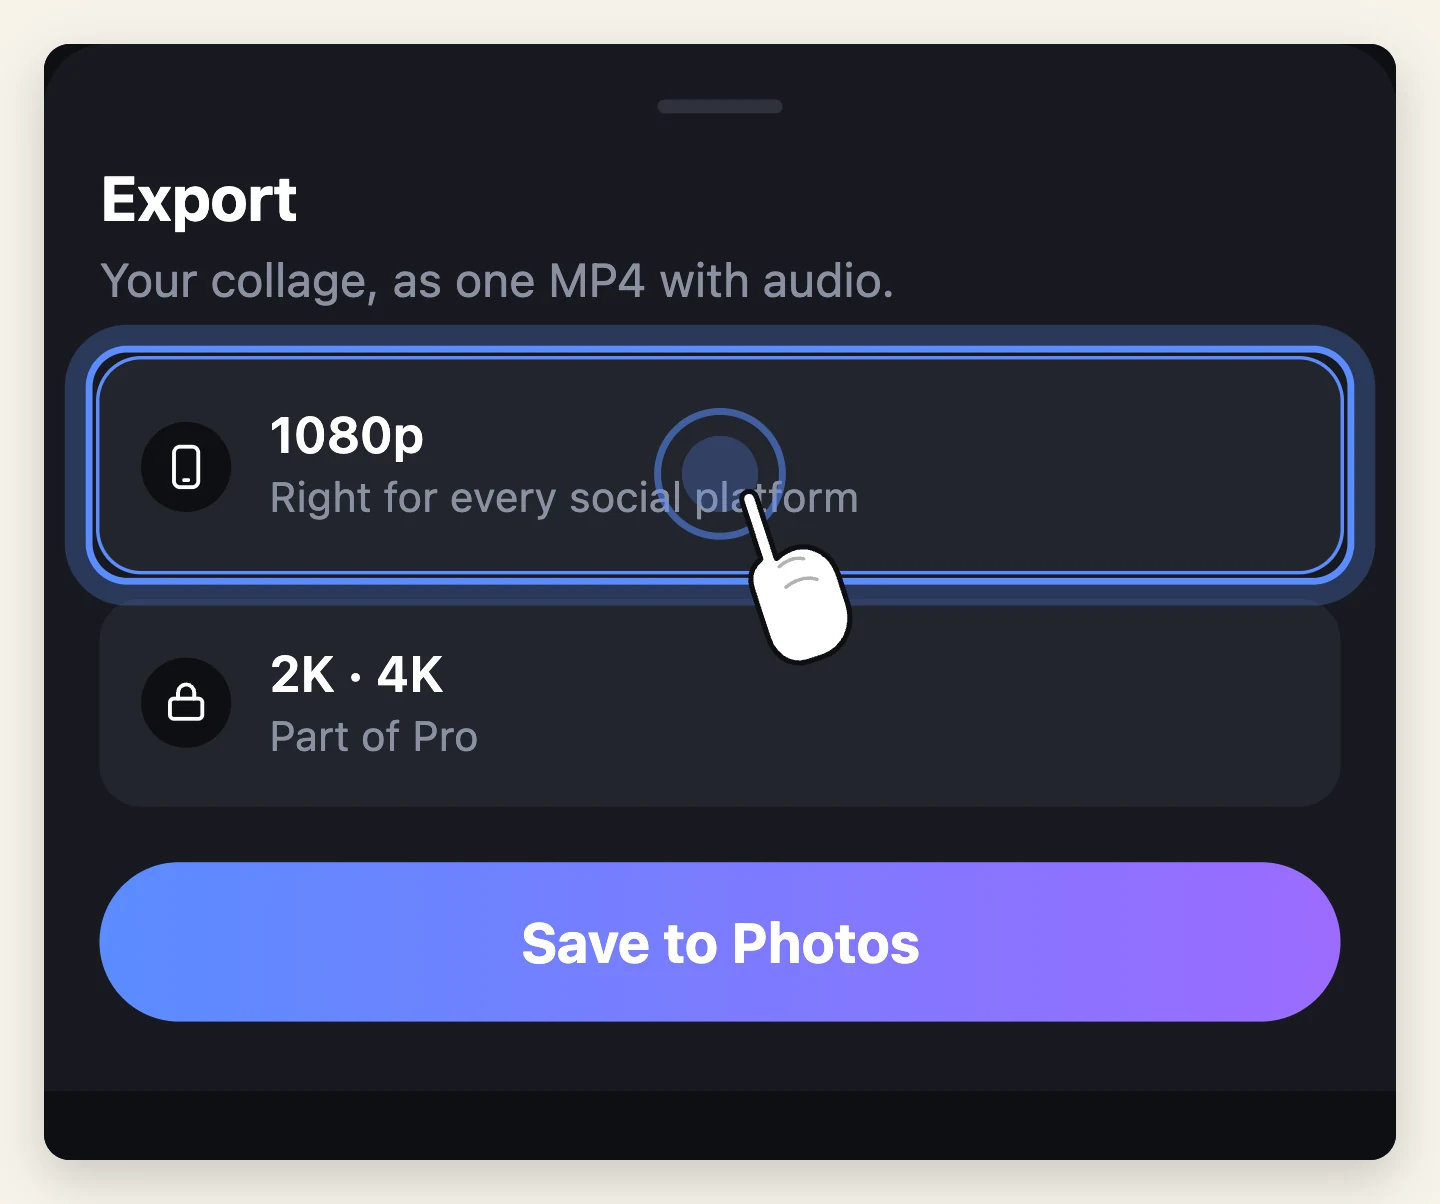
Choose your resolution and save. 720p and 1080p are available free; 2K and 4K are part of Pro.
For social, 1080p is the right answer almost always — the platforms re-encode anyway, and a 4K upload of a nine-cell collage buys you nothing a viewer will see on a phone.
The free version places a watermark on the export. Pro removes it, along with the length and resolution limits.
Where video collages go wrong
Too many cells. Four is usually the ceiling for anything with faces.
Clips of wildly different quality. A clean 4K clip next to a dark handheld one makes the collage look broken rather than varied. Put the weakest clip in the smallest cell.
Mismatched lighting. Indoor tungsten next to outdoor daylight reads as an error. The Color pane can pull them closer together before you give up on a clip.
Forgetting where it is going. A 16:9 collage posted to Reels gets letterboxed into a small strip. Set Format first.
Making one in a browser instead
Stay on the phone. The footage is already there, nothing has to be uploaded anywhere, and the export is a real MP4 you can send straight on.

Moments
Photo movies set to music — the app this guide is written for.

Free to try. Nothing to sign up for.