If you are reading this, someone has died and you have been asked to put the photos together. It is usually given to whoever is thought to be good with computers, often within a few days, and usually while you are grieving too.
This guide is written to make that job smaller. It is practical rather than sentimental, because the sentiment is not the part you need help with.
Table of contents
- Before you start: give yourself a smaller job
- How long should it be?
- Gathering the photos
- Choosing which photos go in
- Putting them in an order that works
- Choosing the music
- Scanning old printed photos
- Making it
- Getting it to play on the day
- Afterwards
Before you start: give yourself a smaller job
Two things make this task enormous, and neither is necessary.
The first is trying to represent a whole life. You cannot. Nobody can, and nobody watching expects it. What a tribute slideshow does is give a room full of people a shared few minutes of remembering. Twenty well-chosen photos do that as well as two hundred.
The second is doing it alone. Ask two or three people for five photos each — their favourites, not the best ones. You will get pictures you have never seen, which are often the ones that land hardest.
If you can, ask someone else to be the person who says "that is enough photos now". Having that not be your decision helps.
How long should it be?
Three to five minutes. This is the single most useful number in this guide.
It feels far too short when you are choosing. It is right. At a service, attention is fragile and the room is emotional; past about five minutes people begin to shift and the silence turns from held to awkward. A tight four-minute film is remembered. A twelve-minute one is endured.
At roughly three to four seconds per photo, that is 45 to 80 photos. If you have more, they can go into a longer version for the family afterwards — see the end of this guide.
Gathering the photos
Expect them to arrive from everywhere: phones, old laptops, Facebook, a shoebox, a sister-in-law who only uses WhatsApp.
A few things that save hours:
- Make one folder and put everything in it unsorted first. Sort later. Mixing collection and selection is what makes this take all week
- Ask for originals, not screenshots. A photo sent through WhatsApp arrives heavily compressed, and it shows on a big screen. Ask people to use the "original quality" option, or to AirDrop them
- Ask for the oldest pictures early. They are the hardest to get hold of and often need scanning
Choosing which photos go in
Some things that reliably work:
- A mix of ages. Childhood, young adulthood, middle years, recent. A film that is all photos from the last five years quietly erases most of a life
- Photos with other people in them. A portrait says what someone looked like. A photo of them laughing at a table says who they were
- A few where they are doing the thing they did. At the workbench, on the boat, in the garden, holding a grandchild
- At least one that makes people smile. The bad haircut, the terrible jumper. Permission to laugh at a funeral is a gift
Things to be careful with:
- Photos where someone else in the frame is estranged from the family. Ask if unsure
- Hospital or illness photos, unless the family has specifically asked
- Anything a living person might not want shown to a hundred people
Putting them in an order that works
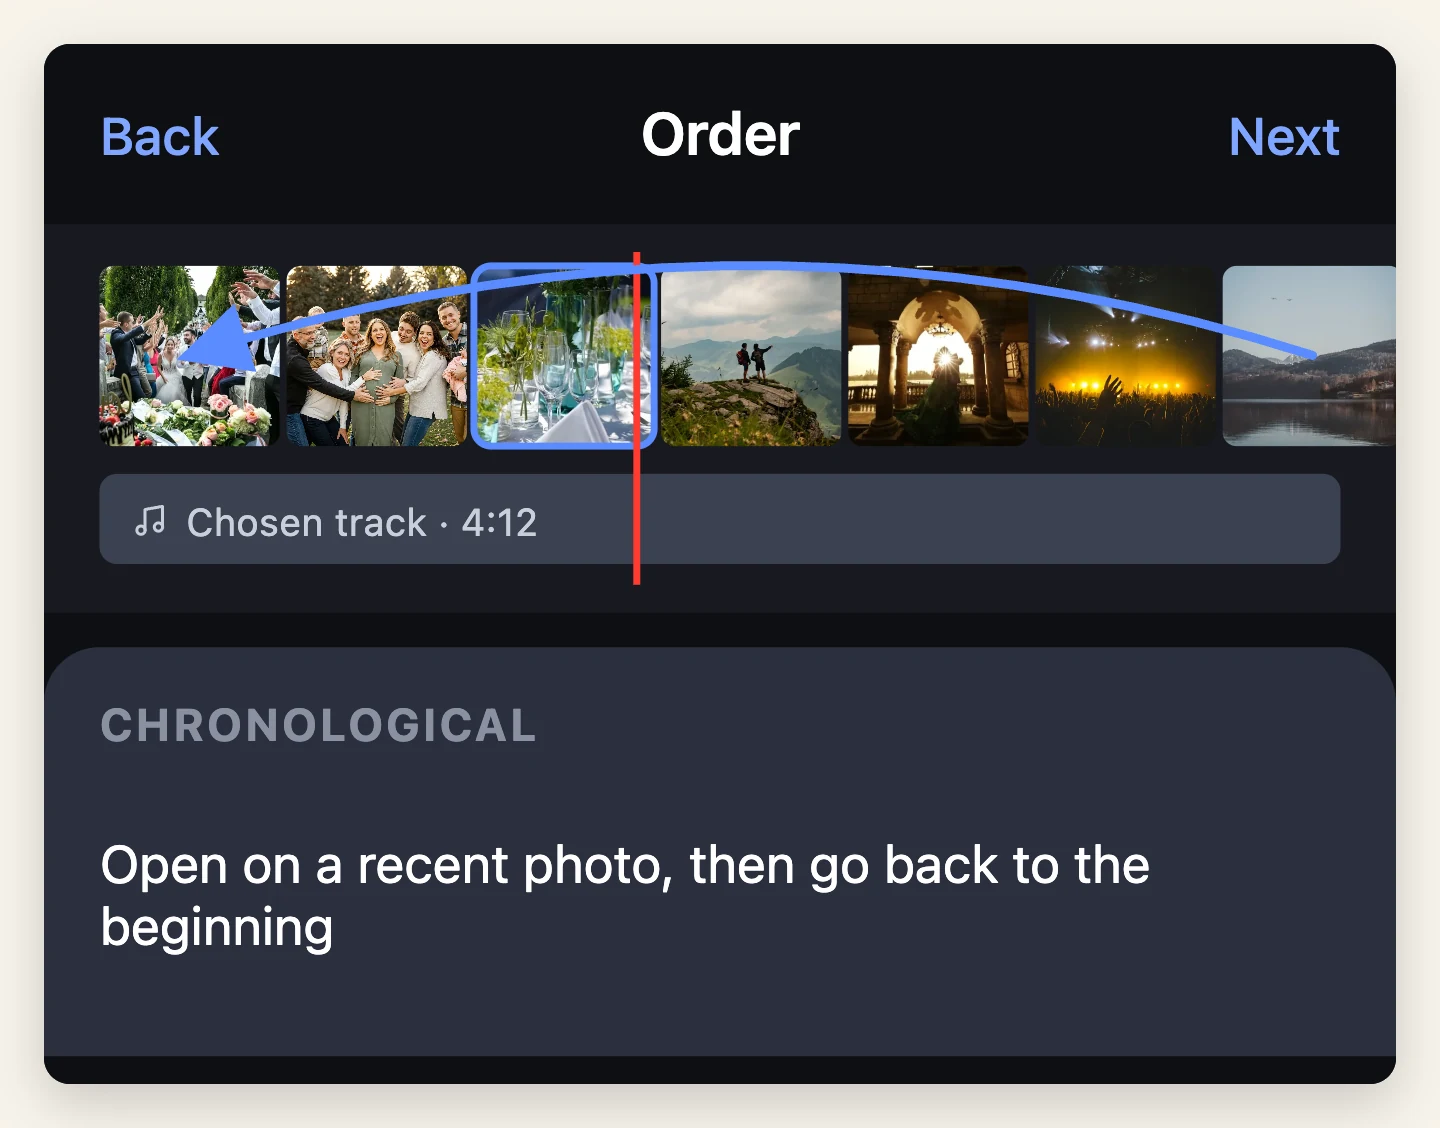
Chronological is the right default. It is the easiest to follow, it gives the film a natural shape, and nobody has to work out why they are seeing what they are seeing.
Two refinements worth making:
- Open on a strong, recent photo of them as people knew them most recently, then jump back to the beginning. The room settles faster when it starts somewhere familiar
- End deliberately. The last photo is the one people carry out of the room. Choose it first, and build backwards
Choosing the music
One or two pieces, no more. Changing track every ninety seconds makes a film feel restless.
What to choose: something they actually liked, something with a slow build, and something without a sudden loud ending. Instrumental versions are safer than vocal ones — lyrics compete with memory.
The practical problem nobody mentions: you cannot export a video with a song from Apple Music or Spotify in it. Those are DRM-protected streams licensed for listening, not for including in a file. You can play one from your phone in the room, but you cannot put it inside the video — the export will come back silent or be refused.
So your options are:
- A licensed track from the app you use. Moments ships 40 tracks cleared for commercial use, which includes this
- A file you own — a purchased MP3 in Files on your phone
- Playing the song live in the room from a phone or laptop while the silent film plays. Many funeral directors do exactly this, and it sidesteps the problem entirely
If their favourite song genuinely matters more than anything, use option three and tell the venue in advance.
Consider a voice instead
If someone in the family can speak over the pictures — naming people, saying where it was, telling one short story — that is worth more than any music. You can record straight onto the film, and the music drops under the voice automatically and comes back up afterwards.
It is also much easier to do than people expect. It does not have to be polished. It has to be them.
Scanning old printed photos
The oldest photos are usually the best ones and the hardest to use.
- Your phone is good enough. The Notes app and most scanner apps will flatten and de-skew a print well. Do it in indirect daylight, not under a ceiling light, which reflects
- Do not use flash. It will bounce straight off the print
- Scan a little wider than the photo and crop afterwards, so you do not clip an edge
- Glossy prints behind glass — take them out of the frame if you safely can
A scanned 6×4 print holds up fine on a screen. It will look soft compared to phone photos, and that is not a problem; it reads as age.
Making it
Any tool that does these four things will do. On a phone, Moments does all of them, which is why this guide is written around it, but the steps are general.
- Add the photos in order. Fix the order before you fine-tune anything else
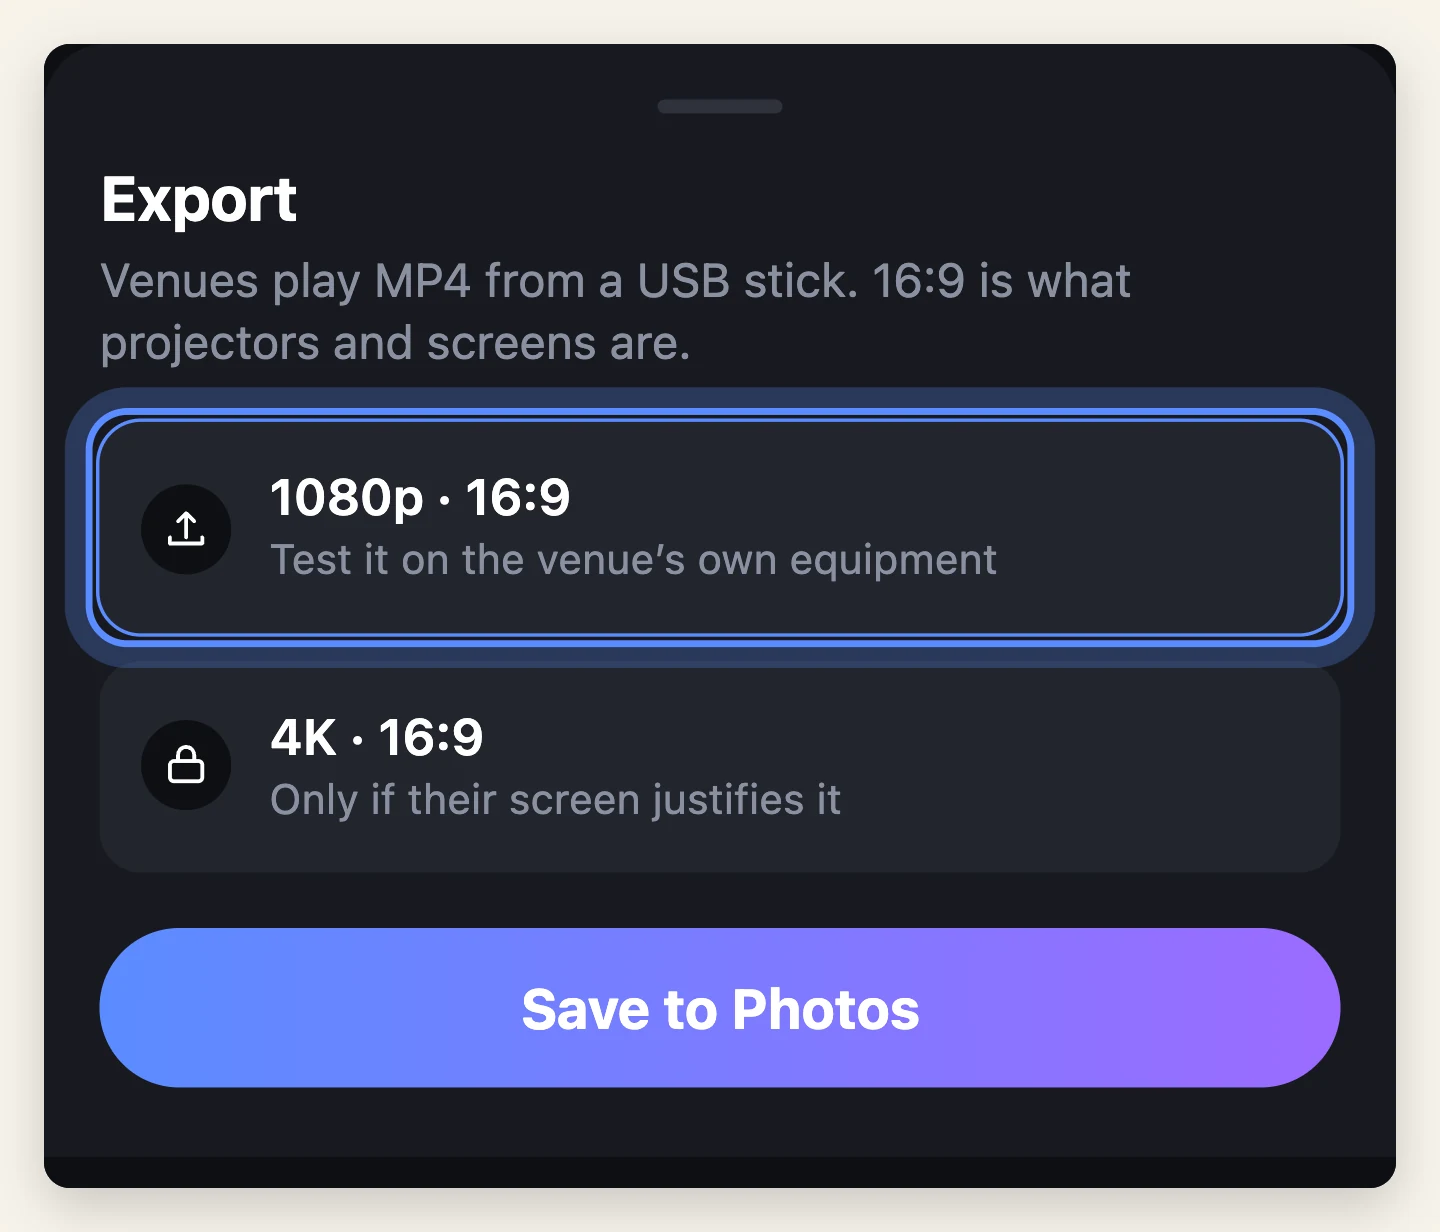
- Set the shape. 16:9 if it is going on a screen or TV at the venue — that is what projectors and screens are. Only use a vertical shape if it is for phones
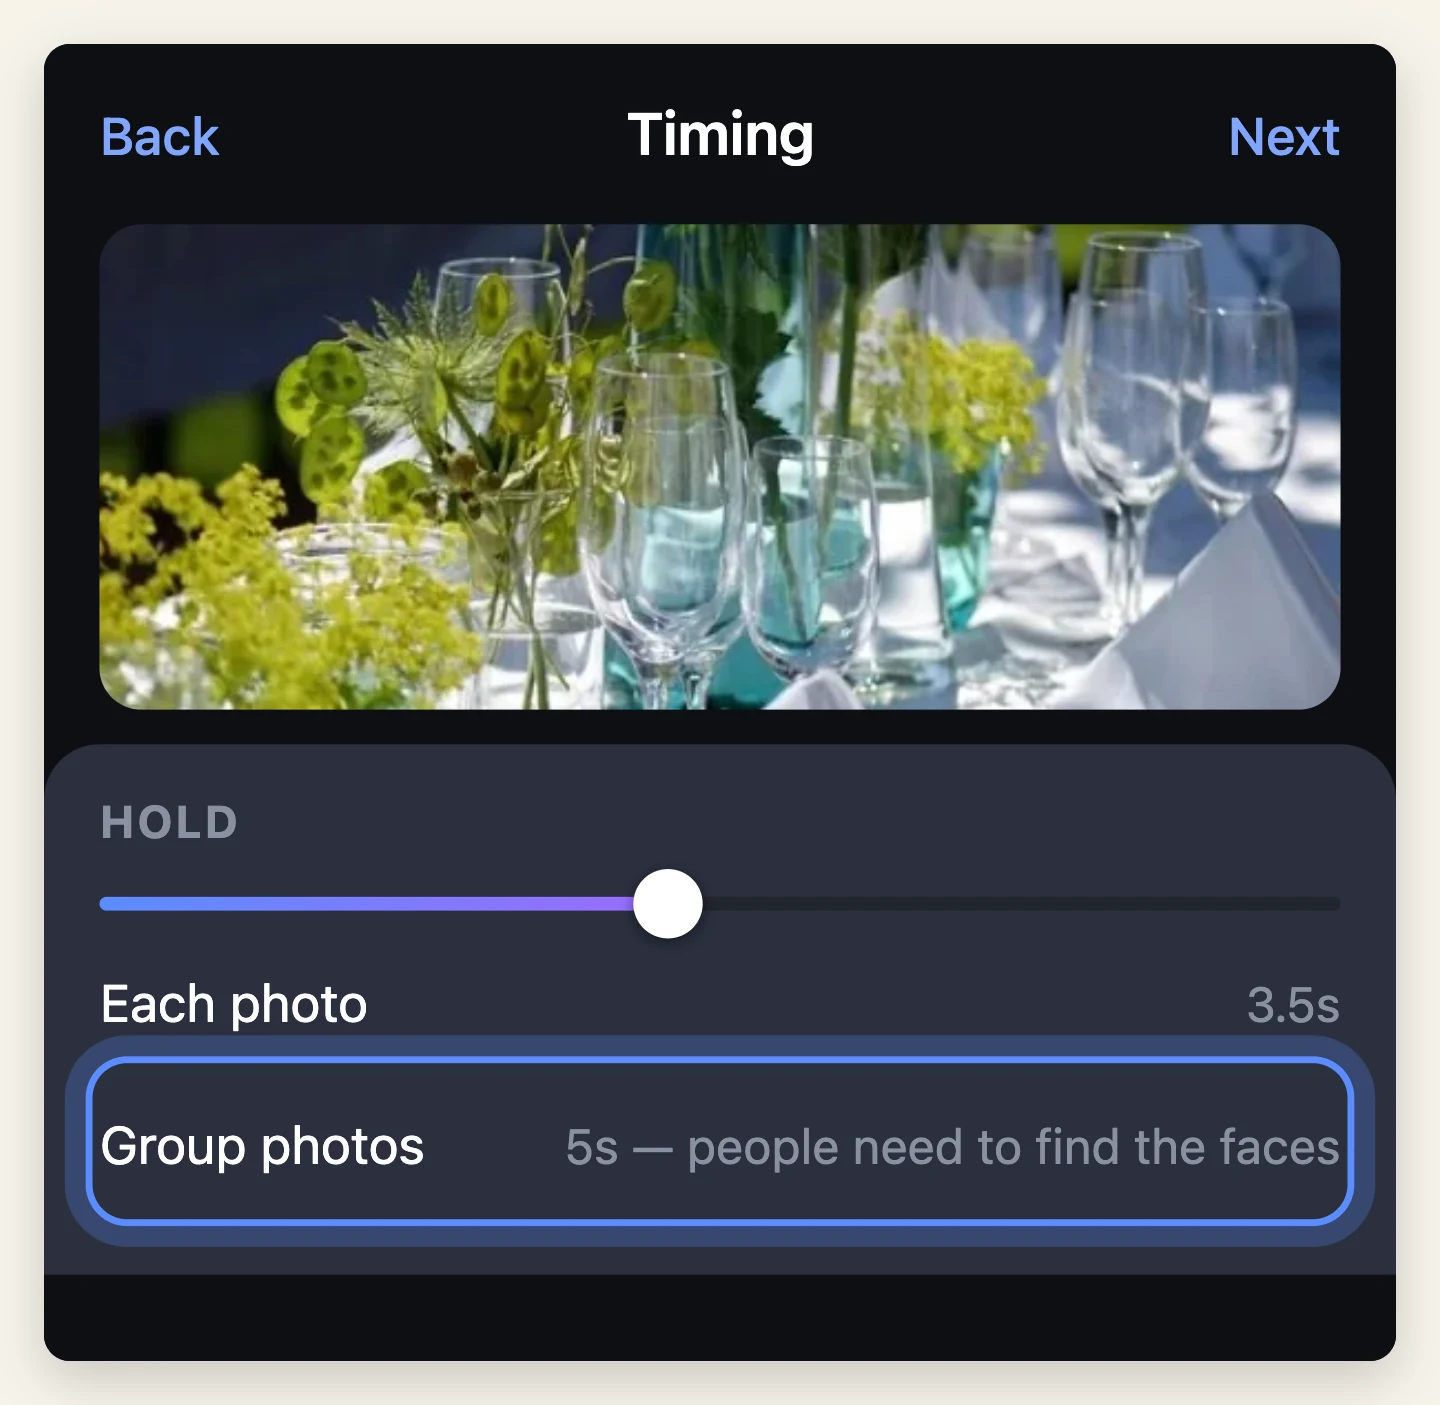
- Set the hold. Three to four seconds per photo. Give a little longer to group photos — people need time to find the faces
- Add gentle movement. A slow push in on each photo stops a slideshow feeling like a slideshow. Keep it slow; anything fast is wrong here
- Use one transition. A dissolve. Apply it to everything and do not vary it. This is not the place for whips and glitches
- Add titles sparingly. A name and dates at the start is usually all that is needed. Resist captioning every photo
- Export at 1080p, or 4K only if the venue has a screen that justifies it
Getting it to play on the day
This is where it goes wrong, and it goes wrong often. Please do this part.
- Ask the venue what they can play, and in what format. Most want an MP4 on a USB stick. Some want it sent ahead. Some have no screen at all
- Test it on the actual equipment if you possibly can, at least a day before. Not on your laptop — on theirs
- Bring it twice. On a USB stick and on your phone, and email yourself a copy
- Check the sound separately. Venue systems often default to the room's own audio, not the laptop's
- Know who is pressing play, and tell them where in the order it comes
If nobody can test it in advance, bring a laptop that can play it and an HDMI cable. It has saved more services than it has not.
Afterwards
Two things worth doing once the day has passed.
Make the longer version. All the photos that did not fit, at a gentler pace, as long as you like. Nobody is watching their watch at home. This is often the version the family keeps.
Give everyone the photos themselves, not just the film. The collection you assembled is now the most complete set of pictures of that person in existence, and it exists in one folder on your computer. Share it while it still does.
---
*If you are doing this for someone you loved, you are already doing the hard part. Four minutes of their photographs, in order, with one piece of music, is enough. It has always been enough.*

Moments
Photo movies set to music — the app this guide is written for.

Free to try. Nothing to sign up for.